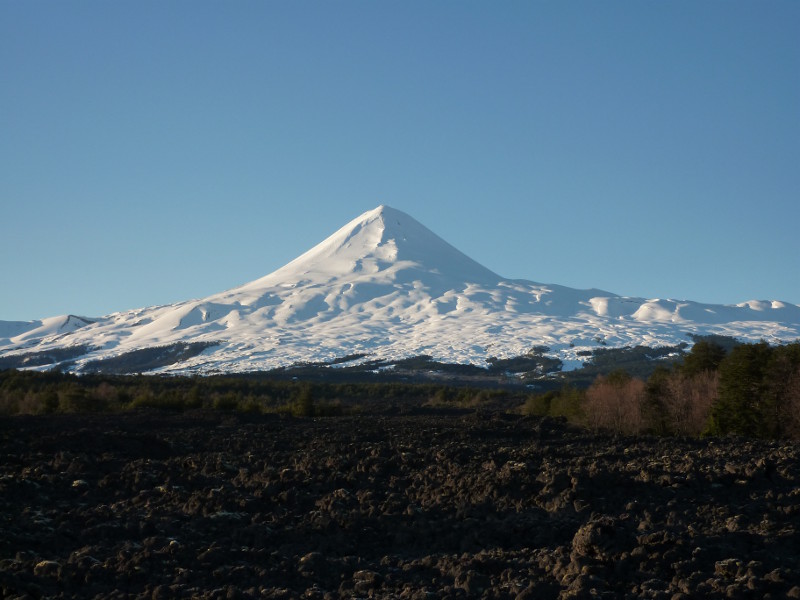
Volcán Llaima
Access
Access is easy for Volcan Llaima if you arrive from the West (i.e. the Cherquenco road). The upper section of the dirt road is quite narrow, so try not to time it late in the afternoon when you may meet vehicles coming the other way.
It is worth pointing out that Volcan Llaima is very active. There were 2 significant eruptions in 2008 and one in April 2009 (plenty of videos on You Tube). However, there are signs on the access roads to let you know what the current activity level is, and the volcano is in a national park, so you have to get through a CONAF gate to get in. You would hope that they wouldn't let you in if there was an issue! Apparently, you are supposed to register with the police in Cherquenco to get permission to climb the volcano. However, a Chilean couple we spoke to at the ski area said that when they went to the police station to get permission, and the policeman they spoke to couldn't understand why they were bothering him, as no one bothers! We didn't bother, and just left the ski car park without a problem.
Accommodation
This was possibly our strangest accommodation of the trip. We stayed in the Refugio Los Paraguas - ask at the bar. They have 2 huge dorms, sleeping about 40 people, but we somehow managed to get a 2 bed room to ourselves for the same price (CLP 8000 per person per night), and they gave us a free Pisco Sour at the bar each! It was a bit noisy, as it's above the bar, but it was cheap and convenient. They don't do meals in the evening, but the chef let us use his kitchen. It turns out that the chef had once spent 3 months in Glasgow as his father had told him to travel! They shut it by 8pm, so try and be done before that. In the morning, they gave us hot water for flasks once the kitchen was open again.
The route
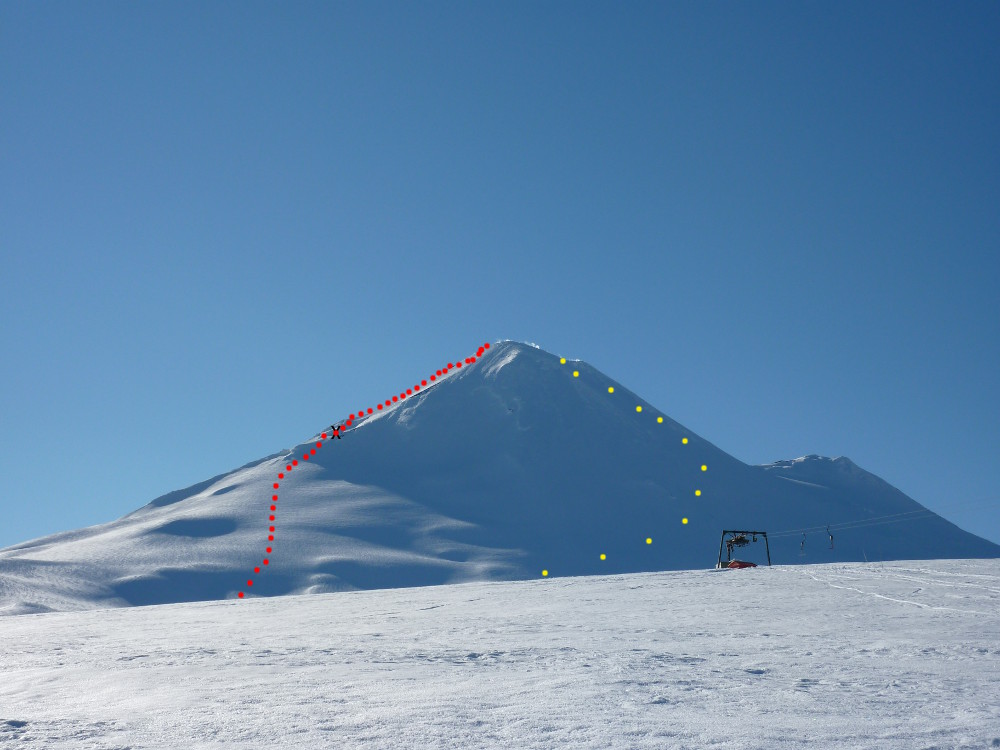
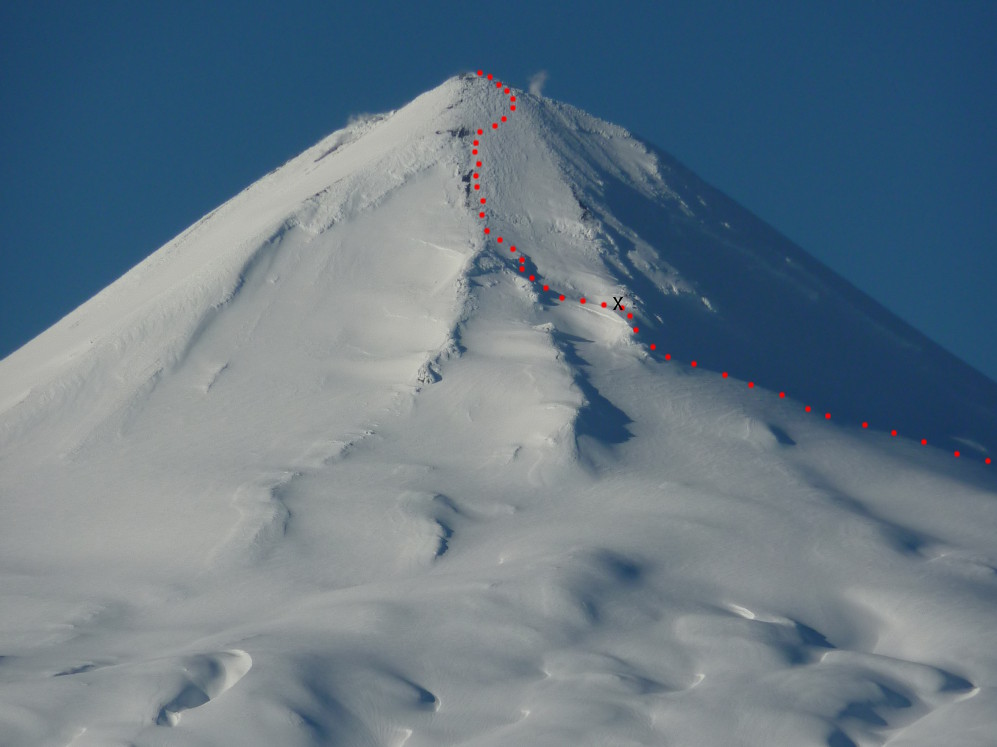
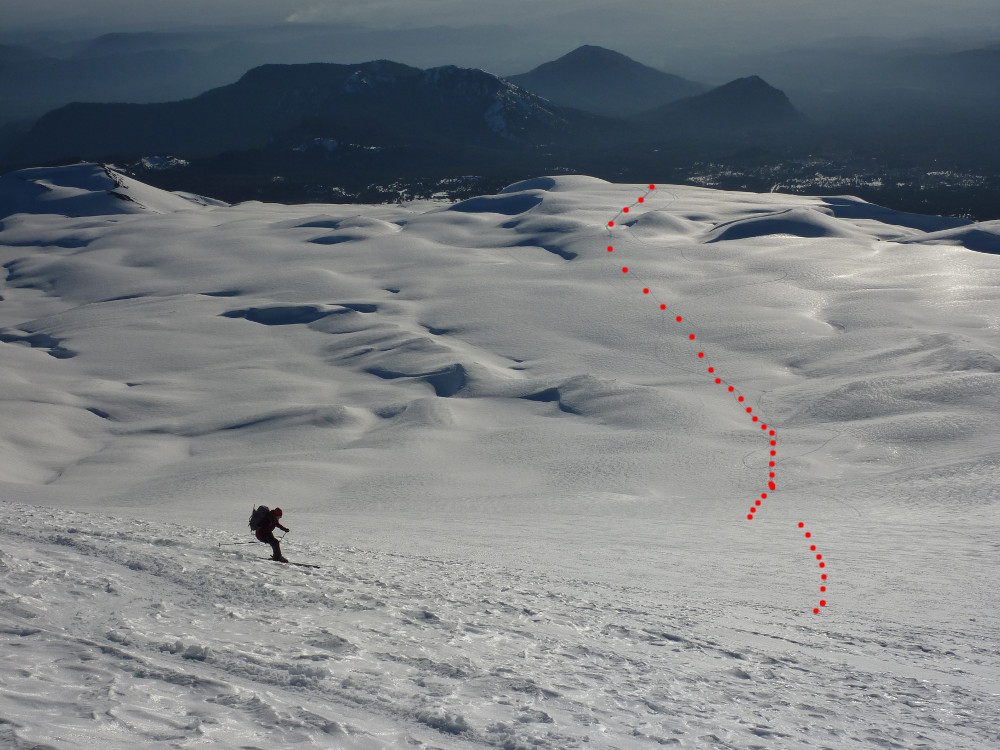
As with all of the other routes, head for the top of the lifts. We left at about 8.45am, and were at the top of the upper lift before it opened, so it's probably not worth trying to buy a ticket for it. From the top of the lifts, the 3125m summit of Llaima is very obvious. Head for the gap in the nearby mounds which mark the perimeter of the plateau. Head across the large, almost flat, plateau. The guidebook describes the right hand side in a photo diagram (yellow in my photo diagram). We chose to ascend the left hand skyline on the North side (red line in my photo diagram). This may not have been the best plan, and the south side may prove to be a better route.
At about 2750m, we dumped the skis, as the upper slopes didn't look good for skiing. The volcano last erupted in 2009, and the whole side of the mountain is steaming. The snow was a bit icy, but also very hollow, with lots of holes in it. Whereas it's just rubble underneath, tread carefully. We returned by the same route on the descent.
The red lines mark our ascent, and descent route. The yellow line marks the possible alternative route from this side of the hill, as per the guidebook.
